Home > News > Optimizing Parameters for Metallographic Sample Cutting: Practical Guide to Enhance Quality and Prevent Deformation

Optimizing Parameters for Metallographic Sample Cutting: Practical Guide to Enhance Quality and Prevent Deformation

Jin Cheng
2026-02-18
Application Tutorial
This article comprehensively presents the critical steps in metallographic sample preparation, with a focus on parameter optimization during the cutting stage using the SQ-100 manual high-precision metallographic cutting machine from Laizhou Jincheng Industrial Equipment Co., Ltd. Key parameters such as spindle speed, cutting pressure, and cooling efficiency are analyzed in detail to demonstrate how scientific operation improves cutting quality, minimizes sample deformation and thermal damage, and ensures superior results in subsequent grinding and polishing. The paper provides a pre-cutting checklist and practical operation guidelines to help beginners avoid common mistakes, supporting laboratories in establishing standardized workflows and enhancing reproducibility. Through real case studies and multi-dimensional parameter comparisons, the technical advantages of the high-efficiency cooling system are highlighted, enabling users to master essential metallographic sample preparation techniques and advance precision and efficiency in materials analysis.
Comparative metallographic cut surfaces of aluminum alloy and ceramic composite showing minimal deformation

Optimizing Metallographic Sample Cutting Parameters: A Practical Guide to Enhance Quality and Prevent Deformation

Metallographic sample preparation is foundational to precise materials analysis, demanding meticulous attention throughout every step. Among these, the cutting stage plays a pivotal role in determining the quality and integrity of samples. This guide delves deeply into the optimization of cutting parameters using the Laizhou Jincheng SQ-100 Manual Precision Metallographic Cutting Machine, focusing on rotational speed, cutting pressure, and cooling efficiency to prevent sample deformation and thermal damage while ensuring superior downstream polishing results.

Understanding Key Steps in Metallographic Sample Preparation

The metallographic preparation process involves six essential stages: sampling, mounting, cutting, cleaning, grinding, and polishing. Precision in cutting is critical because errors here can propagate through subsequent steps, degrading microscopic analysis quality. Each material type—metal alloys, ceramics, and composites—presents distinct challenges requiring tailored cutting parameters.

Critical Cutting Parameters and Their Effects

Optimal cutting hinges on a scientifically balanced set of parameters. Below is a breakdown of the core factors:

  • Rotational Speed (RPM): Influences heat buildup. Excessive speed (>300 RPM for metals) risks thermal damage; too slow (<100 RPM) leads to inefficient cutting and possible mechanical deformation.
  • Cutting Pressure: Must be calibrated to material hardness and thickness. Recommended pressures range from 0.5 to 2.5 kgf/mm². Overpressure induces micro-cracks; underpressure prolongs cutting time and increases wear.
  • Feed Rate: The linear advancement of the sample against the blade affects surface finish. Typical feed rates span 0.01–0.05 mm/s, allowing clean sectioning without chipping.
  • Cooling Efficiency: A high-performance coolant system is essential to dissipate heat rapidly, minimizing thermal stresses and preserving microstructure.

Mechanisms of Sample Deformation and Heat Damage

Improper parameter settings trigger two primary issues:

  • Mechanical Deformation: Excessive cutting forces may warp or crush delicate microstructures, particularly in ceramics or thin cross-sections.
  • Thermal Damage: Frictional heat softens or alters grain boundaries, impairing etching uniformity and microscopic clarity.

Combating these requires an integrated approach: precise force control, speed moderation, and effective cooling. The SQ-100 integrates a high-efficiency cooling system that circulates coolant steadily, maintaining blade and sample temperatures below 30°C during operation.

Standardized Pre-cutting Inspection Checklist

Inspection Item Requirement Recommended Action
Blade Condition Sharp, free from nicks Replace if worn or damaged
Coolant Level and Quality Adequate and clean Refill or replace coolant as necessary
Sample Mounting Secure and stable Re-mount if loose
Parameter Settings According to material specifications Verify RPM, pressure, feed rate

Case Study: Cutting Aluminum Alloy Versus Ceramic Composite

An aluminum alloy sample was processed using 250 RPM rotational speed, 1.2 kgf/mm² cutting pressure, and 0.03 mm/s feed rate with continuous coolant flow. The cut surface exhibited minimal burrs and no thermal discoloration. In contrast, a ceramic composite required a reduced speed of 120 RPM and a lighter pressure around 0.8 kgf/mm² to avoid microfractures. Both scenarios leveraged the SQ-100’s precise parameter controls and cooling system, illustrating versatility across material classes.
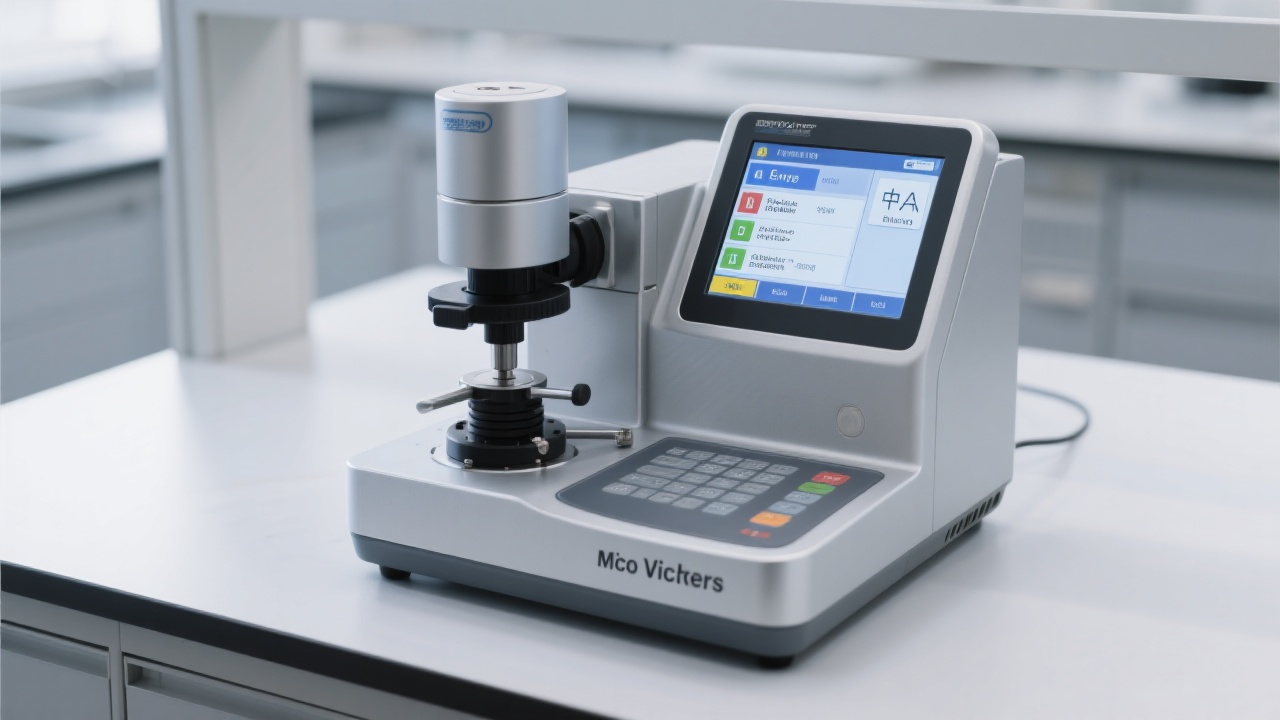
Comparative metallographic cut surfaces of aluminum alloy and ceramic composite showing minimal deformation

Technical Advantages of the SQ-100 Metallographic Cutter

The SQ-100 stands out with its:

  • Manual but highly precise RPM control: fine-tuning enables adherence to material-specific cutting regimes.
  • Robust cooling circuit: continuous coolant recirculation keeps blades and samples consistently cool, mitigating thermal distortion risks.
  • Ergonomic operation interface: user-friendly adjustments and safety interlocks reduce operator fatigue and error.
  • Durable build quality: designed for long-term, repeatable precision in lab and production environments.

Avoiding Common Pitfalls for New Operators

Frequent mistakes include setting excessive speed, applying uneven cutting pressure, neglecting coolant maintenance, and ignoring blade wear signs. Employing the comprehensive pre-cutting checklist and adhering to parameter guidelines fosters standardized workflows and reproducible outcomes. Additionally, timely blade replacement based on usage cycles (typically every 100+ cuts depending on material) prevents quality degradation.
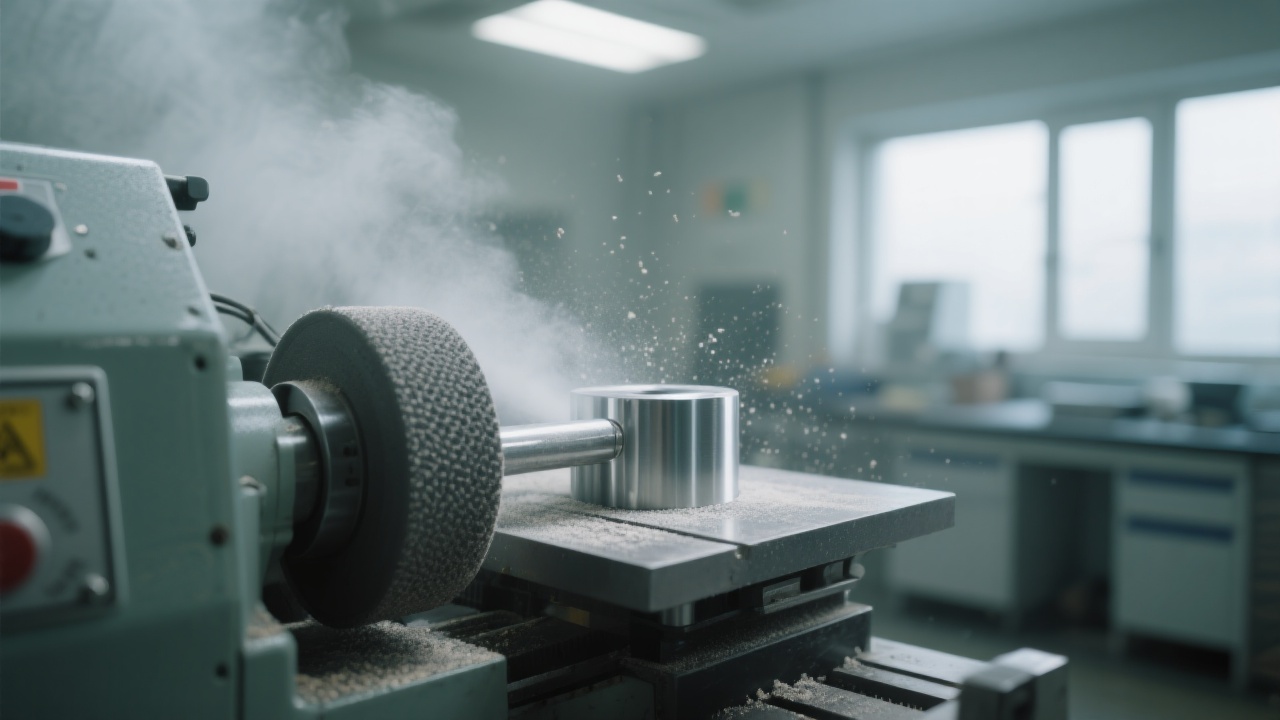
Illustration showing common metallographic cutting defects: edge chipping and thermal damage

Enhancing Lab Efficiency and Result Consistency

Establishing a standardized metallographic cutting protocol supported by precise parameter control and consistent cooling practices directly elevates sample preparation quality. The SQ-100’s integrated design supports this by combining technological innovation with ease of use. Laboratories adopting this machine observe enhancements in throughput, reduced rework rates by up to 30%, and improved microscopic analysis accuracy—critical metrics for advancing materials research and quality assurance.
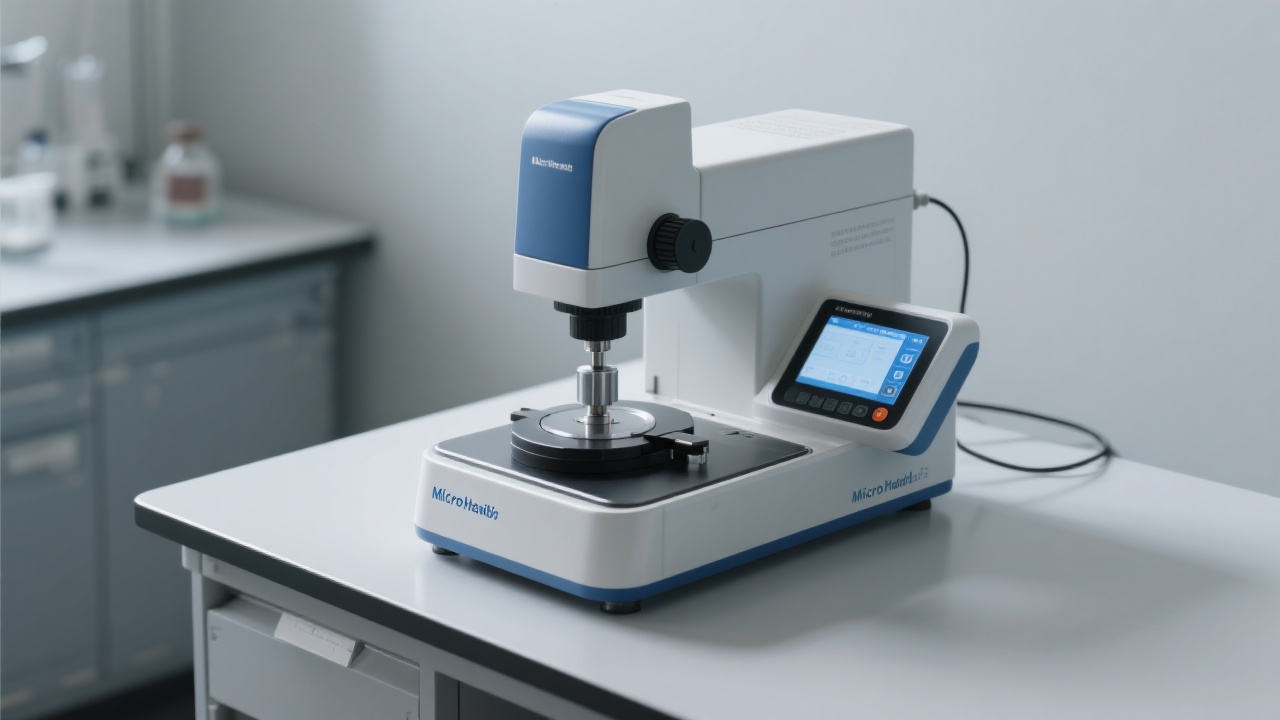
High-efficiency cooling system schematic of SQ-100 metallographic cutting machine

Key Parameter Summary Table for Common Materials

Material Optimal RPM Cutting Pressure (kgf/mm²) Feed Rate (mm/s) Coolant Requirement
Aluminum Alloy 200-300 1.0 - 1.5 0.02 - 0.04 High flow, clean coolant
Ceramic Composite 100-150 0.5 - 0.8 0.01 - 0.02 Very high cooling to prevent cracking
Metallic Alloys (Steel) 250-320 1.2 - 2.0 0.03 - 0.05 Consistent coolant circulation
Name *
Email *
WhatsApp *
Message*

Recommended Products

Related Reading

Clarifying Common Misconceptions in Tear Strength Testing: Does Incorrect Clamping Really Distort Results?

2025-11-12 | https://shmuker.oss-accelerate.aliyuncs.com/tmp/temporary/60ec5bd7f8d5a86c84ef79f2/60ec5bdcf8d5a86c84ef7a9a/20240305160636/lable.png tear strength testing incorrect clamping textile mechanical properties ASTM D1424 ISO 13934-1

How to Improve Brinell Hardness Test Accuracy: Key Steps from Load Application to Indentation Measurement

2026-01-21 | https://shmuker.oss-accelerate.aliyuncs.com/tmp/temporary/60ec5bd7f8d5a86c84ef79f2/60ec5bdcf8d5a86c84ef7a9a/20240305160636/lable.png Brinell hardness test metal hardness measurement hardness testing accuracy GB/T 231.2 ISO 6506

Metallographic Mounting Mold Selection: Stainless Steel Ring, PTFE, and Removable Molds Comparison

2026-02-15 | https://shmuker.oss-accelerate.aliyuncs.com/tmp/temporary/60ec5bd7f8d5a86c84ef79f2/60ec5bdcf8d5a86c84ef7a9a/20240305160636/lable.png metallographic mounting mold selection stainless steel ring mold vs PTFE mold removable metallographic mold sample preparation techniques ZXQ-2 automatic mounting press

Heat Embedding Machine Water Cooling System Maintenance: Anti-Scaling Solutions & Common Fault Diagnosis

2026-01-15 | https://shmuker.oss-accelerate.aliyuncs.com/tmp/temporary/60ec5bd7f8d5a86c84ef79f2/60ec5bdcf8d5a86c84ef7a9a/20240305160636/lable.png heat embedding machine maintenance water cooling system anti-scaling automatic embedding machine troubleshooting metallographic sample preparation lab equipment calibration

Why International Clients Question Hardness Reports? Mastering Brinell Hardness Testing Standards and Data Consistency

2026-01-22 | https://shmuker.oss-accelerate.aliyuncs.com/tmp/temporary/60ec5bd7f8d5a86c84ef79f2/60ec5bdcf8d5a86c84ef7a9a/20240305160636/lable.png Brinell hardness testing hardness report standards test data consistency metal hardness measurement GB/T 231.2

Hot Products

Popular articles
营销主题配图_1753166060112.jpg
营销主题配图_1753167363560.jpg
营销主题配图_1753167552836.jpg
营销主题配图_1753169145058.jpg
营销主题配图_1753168948460.jpg
营销主题配图_1753169124745.jpg
营销主题配图_1753165793017.jpg
营销主题配图_1753165750718.jpg
营销主题配图_1753168999112.jpg
营销主题配图_1753166614485.jpg
Recommended Reading
Contact us
Contact us
https://shmuker.oss-accelerate.aliyuncs.com/tmp/temporary/60ec5bd7f8d5a86c84ef79f2/60ec5bdcf8d5a86c84ef7a9a/thumb-prev.png