
When it comes to material analysis, the quality of your metallographic sample preparation directly impacts the accuracy of your results. Whether you're working in a research lab or an industrial quality control department, understanding how to properly operate a metallographic grinder-polisher can mean the difference between reliable data and misleading conclusions. In this guide, we'll walk you through the complete process of using the LMP-3S high-precision metallographic grinder-polisher, from initial grinding to final polishing, with expert tips to optimize your workflow.
Industry Insight: According to materials science research, over 30% of microscopic analysis errors can be traced back to improper sample preparation techniques. Investing time in mastering these procedures pays dividends in data quality and reliability.
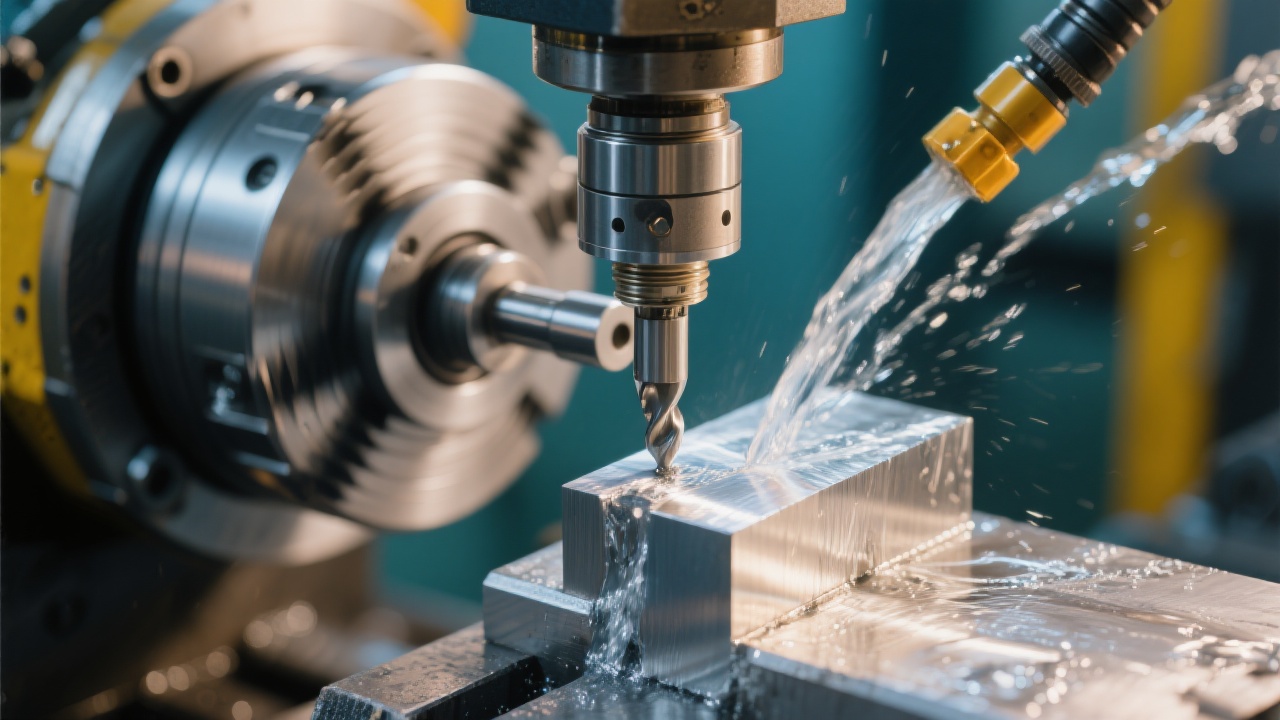
The pre-grinding stage is critical for removing surface damage and establishing a uniform starting point. Begin by selecting the appropriate grinding disc based on your sample material—silicon carbide discs are standard for most metals, while diamond discs may be necessary for extremely hard materials.
Adjust the LMP-3S's dual-disk variable speed control to match your material type. For softer metals like aluminum alloys, a starting speed of 300-400 RPM is recommended, while harder materials such as tool steels benefit from slightly higher speeds in the 450-550 RPM range. Apply consistent pressure throughout the process, typically 15-25 N for most metallic samples.
Practical Tip: Always start with a coarser grit size (80-120 grit) to quickly remove any manufacturing damage or oxidation layers, then progressively move to finer grits (240, 400, 600) for the final pre-grinding steps. This staged approach minimizes subsurface damage that could affect your results.
After completing pre-grinding, the next step focuses on creating a flat, uniform surface with minimal deformation. The LMP-3S's programmable pressure control allows for precise adjustment based on material hardness:
| Material Type | Recommended Pressure (N) | Speed (RPM) | Grinding Time (minutes) |
|---|---|---|---|
| Aluminum Alloys | 10-15 | 300-400 | 3-5 |
| Carbon Steels | 15-20 | 400-500 | 4-6 |
| Stainless Steels | 18-22 | 450-550 | 5-7 |
| Titanium Alloys | 12-18 | 350-450 | 6-8 |
During grinding, maintain a steady water flow to cool the sample and remove debris. Periodically rotate the sample 90 degrees to ensure even material removal and check for uniformity under good lighting. Remember that proper grinding removes approximately 2-3 times the depth of any previous damage layer.
International Standards Reference:
Follow the guidelines established in ASTM E3—11 "Standard Guide for Preparation of Metallographic Specimens" and ISO 14104 "Metallic materials - Preparation of metallographic specimens" for best practices in sample preparation.
Polishing transforms the ground surface into a smooth, scratch-free mirror finish ideal for microscopic examination. The LMP-3S's advanced control system allows for precise regulation of speed and pressure during this critical stage.
Start with a medium polishing cloth and diamond suspension (3-6 μm) at 150-200 RPM, applying 8-12 N of pressure for 5-8 minutes. Progress to a final polish using a velvet cloth with 1-3 μm diamond suspension at 100-150 RPM with reduced pressure (5-8 N) for an additional 3-5 minutes.
To determine when polishing is complete, periodically rinse the sample and check under reflected light. A properly polished surface should show no directional scratches and should reflect light uniformly across the entire surface. For critical applications, consider using interference contrast microscopy to verify surface quality before etching.
Pro Tip: 建议记录每次参数设置 (It is recommended to record each parameter setting) including pressure, speed, time, and consumables used. This documentation creates a repeatable process and helps troubleshoot any quality issues that may arise with future samples.
Regular maintenance of your LMP-3S grinder-polisher not only extends its lifespan but also ensures consistent results. Implement a preventive maintenance schedule that includes:
Replace grinding discs when you notice decreased material removal efficiency or visible wear patterns. For polishing cloths, replace them when they show signs of glazing or loading with debris, typically after 10-15 samples depending on material type.
Even with proper technique, challenges can arise during metallographic preparation. Here are solutions to typical problems:
Problem: Deep scratches remaining after polishing
Solution: Check that you're progressing through grit sizes properly. Return to a coarser grit to remove existing deep scratches before proceeding. Ensure the polishing cloth is properly tensioned and not loaded with debris.
Problem: Uneven material removal
Solution: Verify sample mounting is perpendicular to the grinding surface. Check for worn or uneven discs and ensure consistent pressure application throughout the process.
Problem: Smearing or "drag" on soft materials
Solution: Reduce pressure, use a harder cloth, and consider a faster rotation speed. For extremely soft materials, try a shorter polishing time with a finer diamond suspension.
While this guide provides a solid foundation, proper installation and hands-on training significantly impact your ability to achieve optimal results. The LMP-3S's advanced features—including programmable cycles, dual-disk operation, and precision controls—deliver their full potential only when operators understand their capabilities and limitations.
Many laboratories report a 20-30% increase in sample throughput and a noticeable improvement in result consistency after investing in professional training for their metallographic equipment operators. This training pays for itself through reduced consumable waste, fewer reworks, and more reliable analysis.
Unlock the full potential of your LMP-3S grinder-polisher with expert guidance and resources
Download Complete LMP-3S Operation Manual Schedule Professional Training SessionRemember that metallographic preparation is both a science and an art. With practice, attention to detail, and the right equipment like the LMP-3S, you'll consistently produce high-quality samples that provide accurate insights into your material's microstructure. The key is to establish standardized procedures, document your process, and continuously refine your technique based on the results you observe.
 metallographic equipment maintenance
grinding and polishing machine care
laboratory metallography troubleshooting
corrosion protection for lab equipment
metal sample preparation equipment
non-metallic Rockwell hardness testing
Rockwell hardness standards
non-metal material hardness measurement
Rockwell hardness applications
Jincheng MHRS-150 hardness tester
tear strength testing
incorrect clamping
textile mechanical properties
ASTM D1424
ISO 13934-1
metallographic polishing machine
automatic grinding and polishing
sample preparation optimization
energy-efficient lab equipment
metallography workflow
Metallographic grinding and polishing machine standard inspection
ASTM E3 standard verification method
Metallographic equipment self - inspection guide
ISO 14609 equipment detection
Metal material analysis equipment evaluation
metallographic equipment maintenance
grinding and polishing machine care
laboratory metallography troubleshooting
corrosion protection for lab equipment
metal sample preparation equipment
non-metallic Rockwell hardness testing
Rockwell hardness standards
non-metal material hardness measurement
Rockwell hardness applications
Jincheng MHRS-150 hardness tester
tear strength testing
incorrect clamping
textile mechanical properties
ASTM D1424
ISO 13934-1
metallographic polishing machine
automatic grinding and polishing
sample preparation optimization
energy-efficient lab equipment
metallography workflow
Metallographic grinding and polishing machine standard inspection
ASTM E3 standard verification method
Metallographic equipment self - inspection guide
ISO 14609 equipment detection
Metal material analysis equipment evaluation


