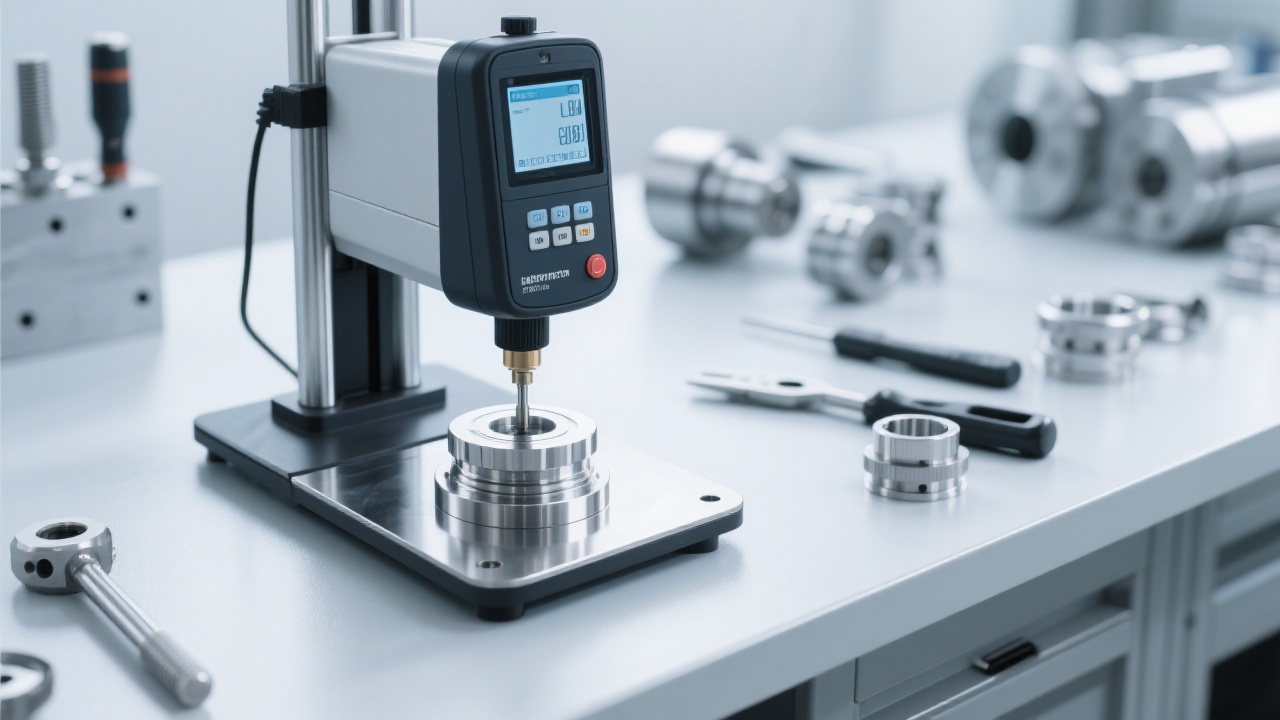
Brinell hardness testing remains a cornerstone method for assessing metal material hardness, yet many laboratories and quality engineers encounter inconsistent results. A predominant factor causing data deviation is indentation deformation, which often goes unnoticed by nearly 90% of practitioners. Understanding and addressing this issue is critical to ensuring reliable, repeatable measurements that meet international standards such as GB/T 231.2 and ISO 6506.
Imagine a scenario where repeated Brinell hardness tests in the same laboratory yield significantly varying values, or clients dispute the authenticity of hardness data presented. These situations reflect common pitfalls caused by procedural missteps rather than inherent material inconsistencies, emphasizing the need for a systematic approach to pinpoint and eliminate error sources.
Using an inappropriate indenter size or material leads to irregular indentation shapes, drastically skewing hardness values. For example, a larger steel ball indenter unsuitable for thin materials causes excessive imprint deformation, making hardness appear artificially low.
A load that fluctuates during the dwelling time affects indentation depth and shape. Deviations as small as ±5% in applied load can result in up to 3 HBR (Brinell Hardness Number) points difference, undermining test repeatability.
Variations in laboratory temperature by more than 5°C or humidity beyond 60% RH can cause microscopic surface expansion or contraction, altering indentation profile and measurement accuracy over time.
“ ASTM E10-12: The test surface must be clean, polished, and stable, with loading and indenter parameters precisely controlled to ensure consistent hardness results.”
Each of these common pitfalls has well-documented mitigations in standards like GB/T 231.2, ISO 6506, ASTM E10-12, and JIS Z2243. For instance, standard protocols guide the selection of ball diameter, material, and test load based on the metal type and thickness, alongside stringent load dwell time and environment regulation.
Corrective measures include:

In a recent case, a manufacturer encountered inconsistent hardness data across batches. Initial tests used a 10 mm steel ball indenter on a thin 3 mm aluminum alloy sheet — a common misstep violating ISO 6506-1. This led to pronounced indentation deformation, underreporting hardness values by up to 15%. After realigning to recommended indenter size and load parameters per GB/T 231.2, the variance shrank below 2%, restoring confidence across the quality control chain.

To empower quality engineers and researchers, the following 10-Point Checklist supports proactive identification of indentation deformation risks, streamlining testing preparation:

Recognizing and eliminating indentation deformation errors is integral to effective hardness quality assurance and achieving international result recognition. Quality control professionals should embed these best practices into broader measurement system analysis and reporting workflows, fostering a quality culture that thrives on scientific rigor rather than guesswork.


