
You’re not alone if your lab struggles with inconsistent sample preparation or inefficient polishing cycles. The LMP-3 Automatic Metallographic Polishing Machine is designed to turn that challenge into a streamlined process—but only if you know how to leverage its full potential.
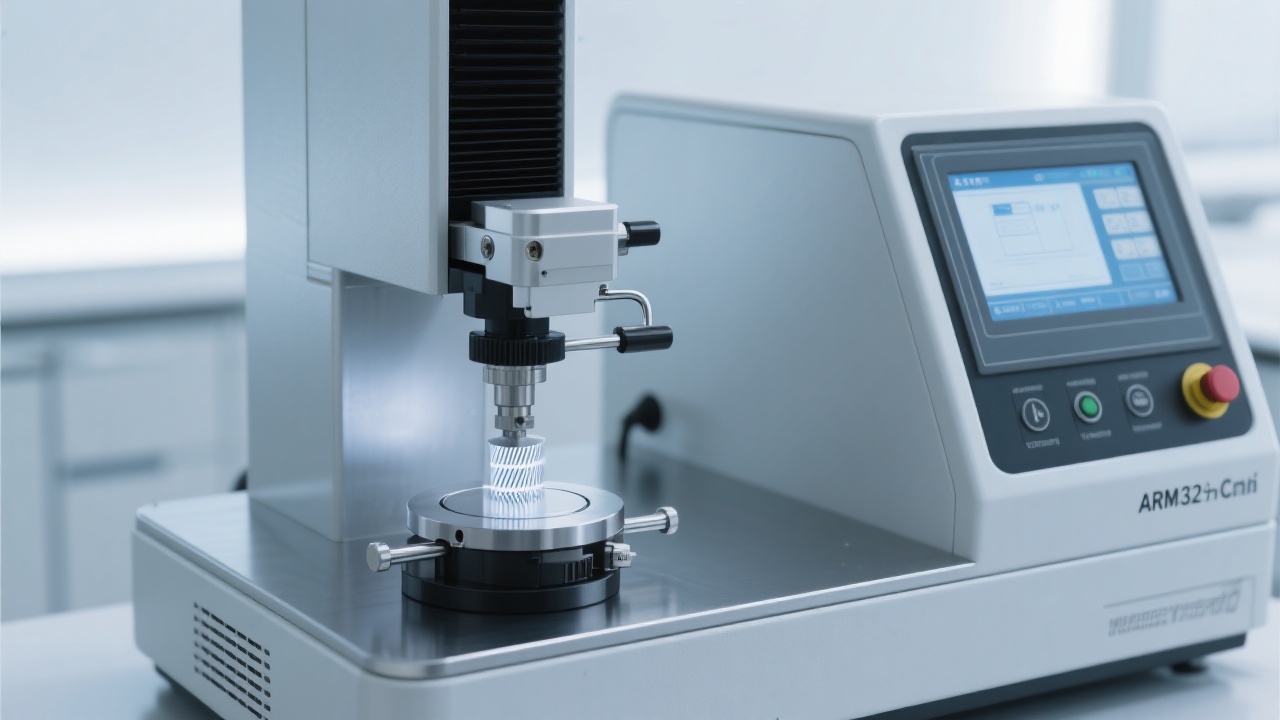
Begin by ensuring your workspace meets basic standards: stable power supply (220V ±10%), proper ventilation, and clean surfaces. According to our data from over 200+ labs using this machine, up to 40% of early issues stem from improper setup—not faulty hardware. Load samples correctly using the magnetic chuck system (see Figure 1), and always use the LCD interface to confirm tool selection and rotation direction before starting.
Here’s where many users miss the mark: setting a universal speed for all materials. For example:
Our field engineers report that labs applying these material-specific parameters see up to 35% faster turnaround time without compromising quality.
Even top-tier machines need care. Here’s what we recommend weekly:
| Task | Frequency | Impact |
|---|---|---|
| Clean polishing pads | After each batch | Reduces contamination risk by 70% |
| Inspect motor brushes | Monthly | Avoids unexpected stoppages |
Want to polish 5 samples simultaneously? Enable “Parallel Mode” via the advanced settings menu—it reduces idle time between batches by up to 60%. Also, switch to Eco Mode during non-peak hours: it saves ~15% energy per month across a typical 5-machine lab.
Whether you're new to automated polishing or looking to optimize current workflows, understanding these core principles transforms your lab from reactive to proactive.
Explore the full capabilities of the LMP-3—engineered for precision, durability, and real-world lab performance.
Click to Learn More About LMP-3 Features metallographic equipment maintenance
grinding and polishing machine care
laboratory metallography troubleshooting
corrosion protection for lab equipment
metal sample preparation equipment
automatic hot mounting machine maintenance
temperature sensor calibration
water cooling system maintenance
ASTM E2554 compliance
ISO 3108 standard
metallographic polishing machine maintenance
grinding disc for MP-160E
polishing cloth for metallography
sample preparation accuracy
lab equipment longevity
heat embedding machine maintenance
water cooling system anti-scaling
automatic embedding machine troubleshooting
metallographic sample preparation
lab equipment calibration
Metallographic grinding and polishing machine
MP-1B performance
Metal material grinding solutions
Laboratory equipment selection
Metallographic sample preparation technology
metallographic equipment maintenance
grinding and polishing machine care
laboratory metallography troubleshooting
corrosion protection for lab equipment
metal sample preparation equipment
automatic hot mounting machine maintenance
temperature sensor calibration
water cooling system maintenance
ASTM E2554 compliance
ISO 3108 standard
metallographic polishing machine maintenance
grinding disc for MP-160E
polishing cloth for metallography
sample preparation accuracy
lab equipment longevity
heat embedding machine maintenance
water cooling system anti-scaling
automatic embedding machine troubleshooting
metallographic sample preparation
lab equipment calibration
Metallographic grinding and polishing machine
MP-1B performance
Metal material grinding solutions
Laboratory equipment selection
Metallographic sample preparation technology


